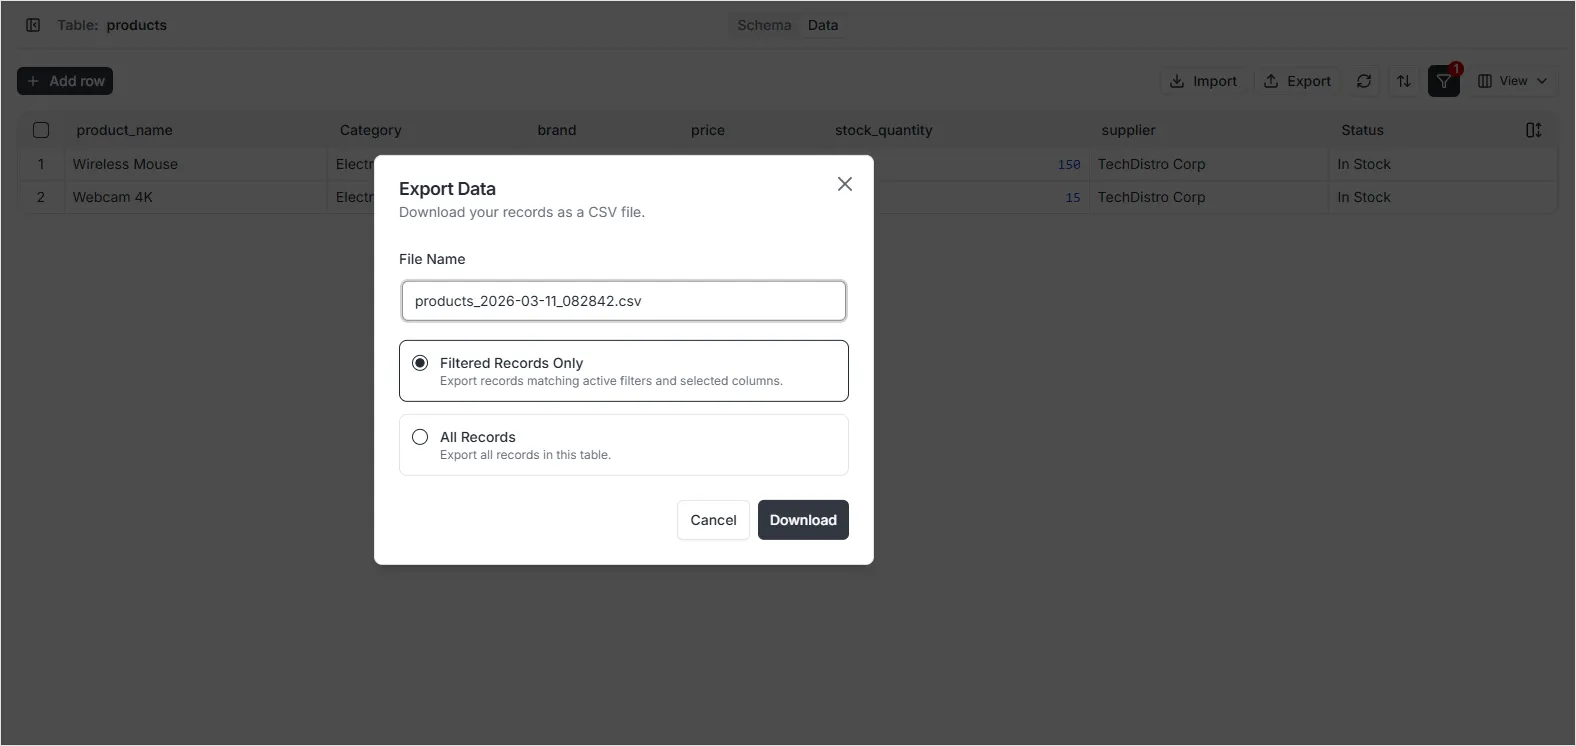
Exporting Data
The platform allows you to export your table records into CSV files. To ensure you only export the data you need, you can apply filters and select specific columns before generating the export file.
Step-by-Step Export Guide
Section titled “Step-by-Step Export Guide”Follow these steps to export your data:
1. Filter Your Records
Section titled “1. Filter Your Records”Before exporting, use the filter panel to isolate the specific records you want to include. This ensures that only the relevant data subset is prepared for export.
2. Select Columns (Fields)
Section titled “2. Select Columns (Fields)”Click the View icon in the toolbar to toggle off any fields you do not wish to include in your export. The export process will only include the columns that are currently visible in the Data Viewer.
3. Generate Export
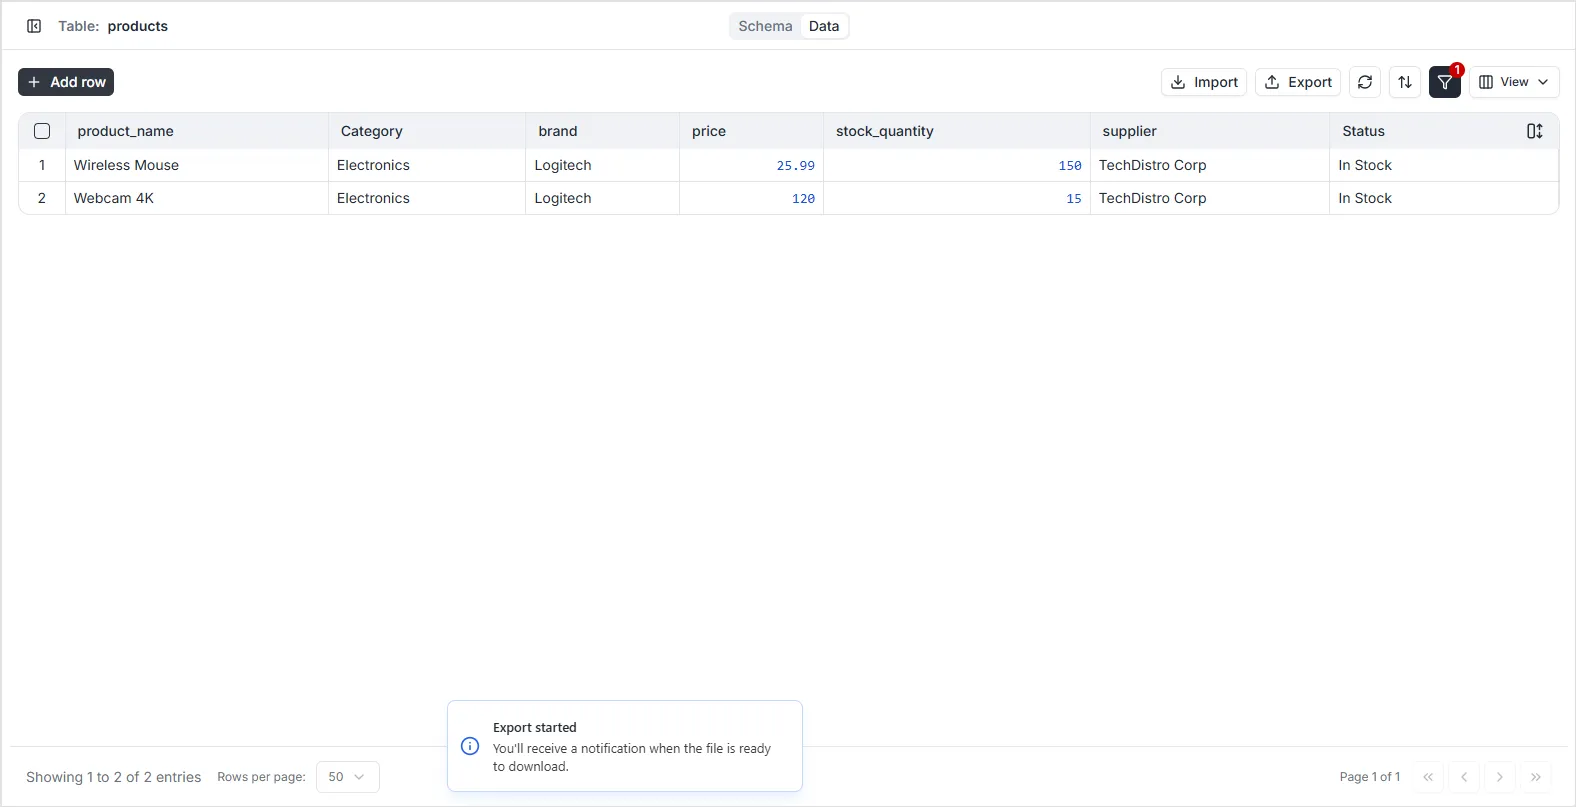
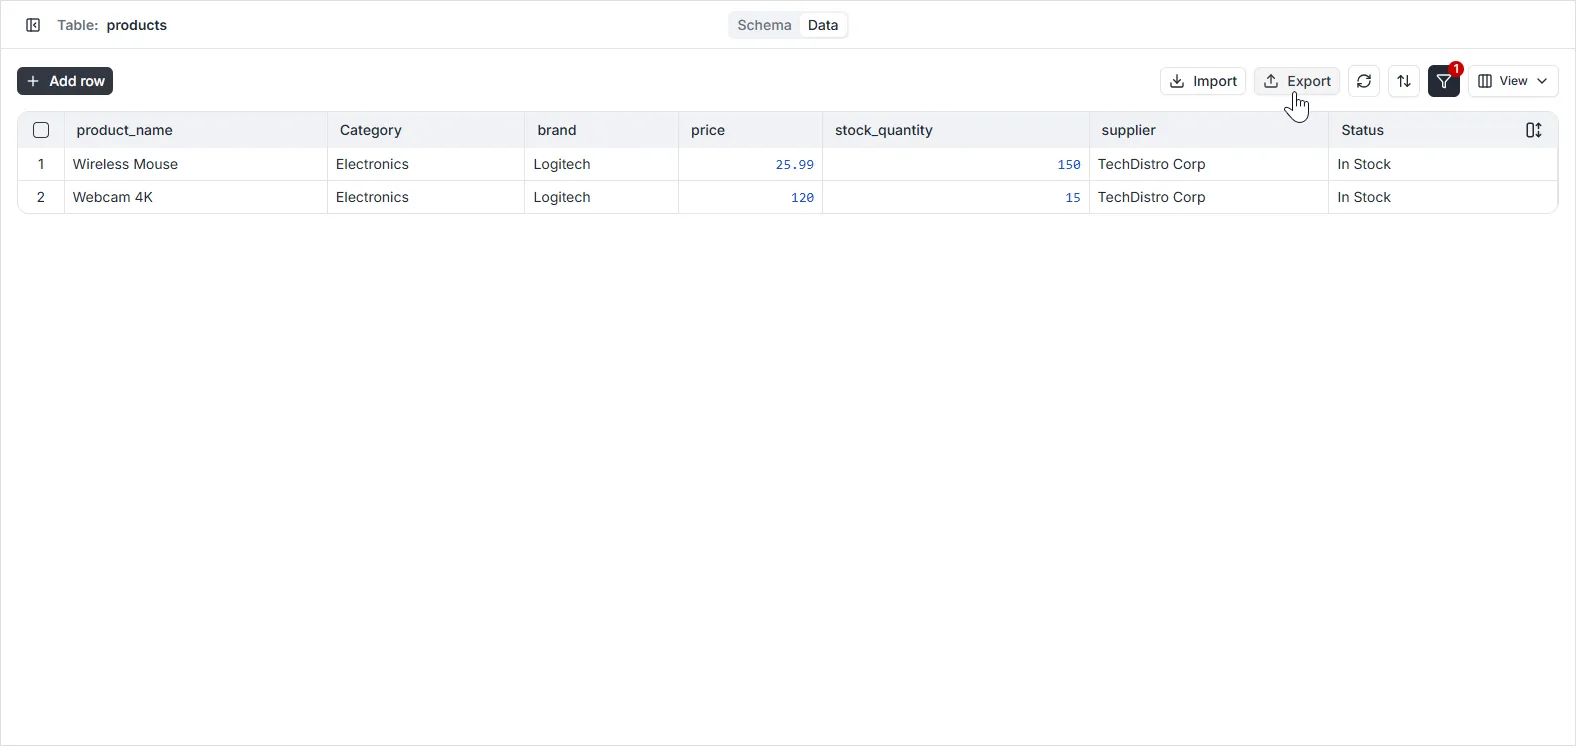
Section titled “3. Generate Export”Once you have filtered the data and selected the desired columns, click the Export CSV icon in the toolbar to download the file to your local machine.