Importing Data
The platform allows you to import large datasets directly into your tables using CSV files. This process includes automatic schema validation and flexible column mapping.
Data Validation
Section titled “Data Validation”The CSV importer enforces all schema-defined validations. For example:
- Unique Constraints: If a field is set to be unique, rows with duplicate values will be rejected.
- Data Types: The importer ensures that values match the field’s data type (e.g., strings don’t go into number fields).
- Mandatory Fields: All required fields must be present in the CSV or mapped correctly.
Step-by-Step Import Guide
Section titled “Step-by-Step Import Guide”Follow these steps to import your records:
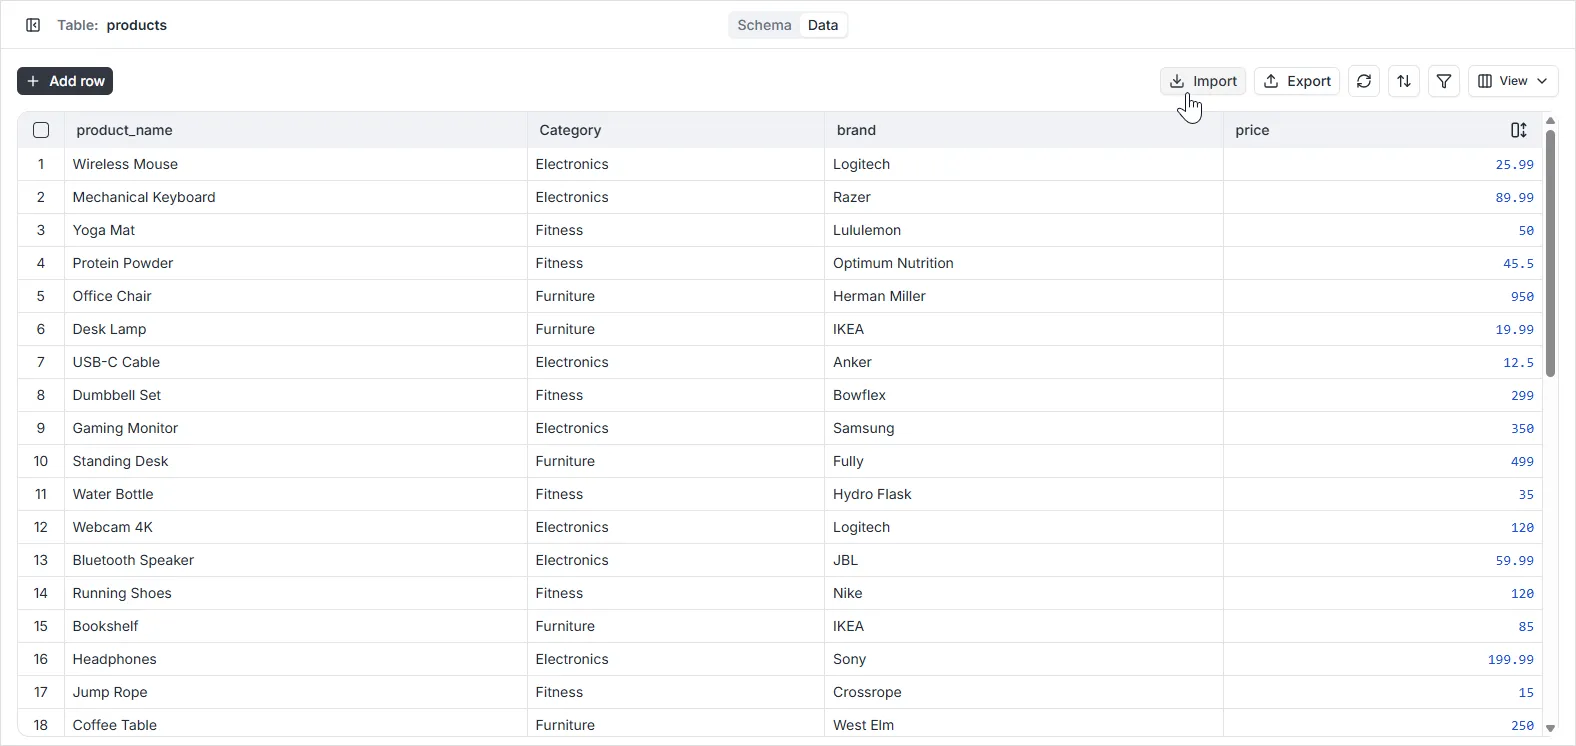
1. Upload Your CSV File
Section titled “1. Upload Your CSV File”Navigate to the Data Viewer for your desired table and click the Import CSV icon in the toolbar. In the modal that appears, select the file you wish to upload.
2. Configure Import Settings
Section titled “2. Configure Import Settings”Once the file is uploaded, you can choose whether to import into the current table or select a different one. You must also verify the CSV format settings:
- Delimiter: Supports both comma (
,) and semicolon (;). - Quote Character: Usually double quotes (
"). - Header Row: The CSV file must include a header row in the first line, containing the names of the fields to be imported.
- Strict Validation: Ensuring data strictly adheres to schema rules.

3. Map Columns
Section titled “3. Map Columns”Map the columns from your CSV file to the corresponding fields in your database table. The system will attempt to auto-match columns based on names, but you can manually adjust them as needed.
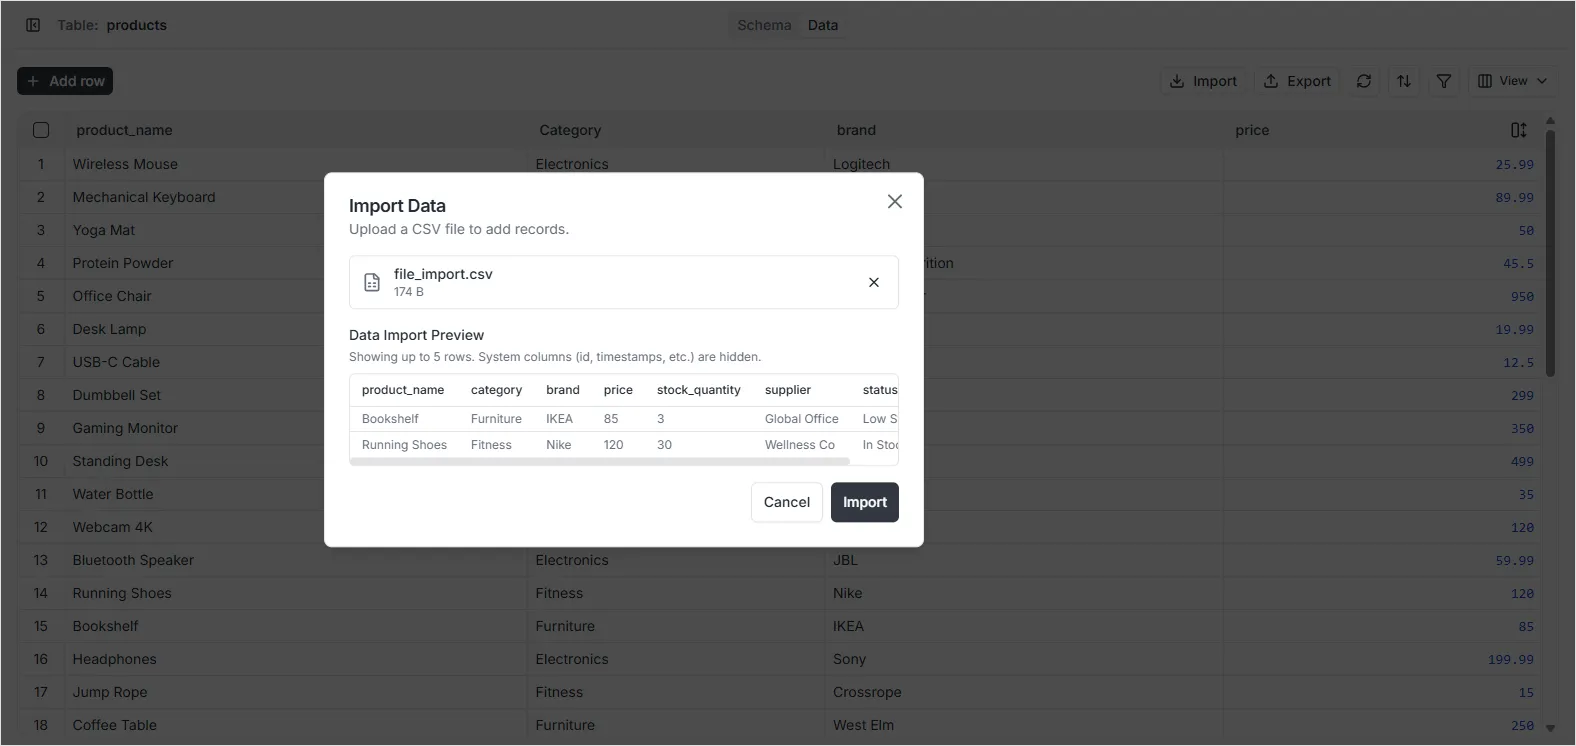
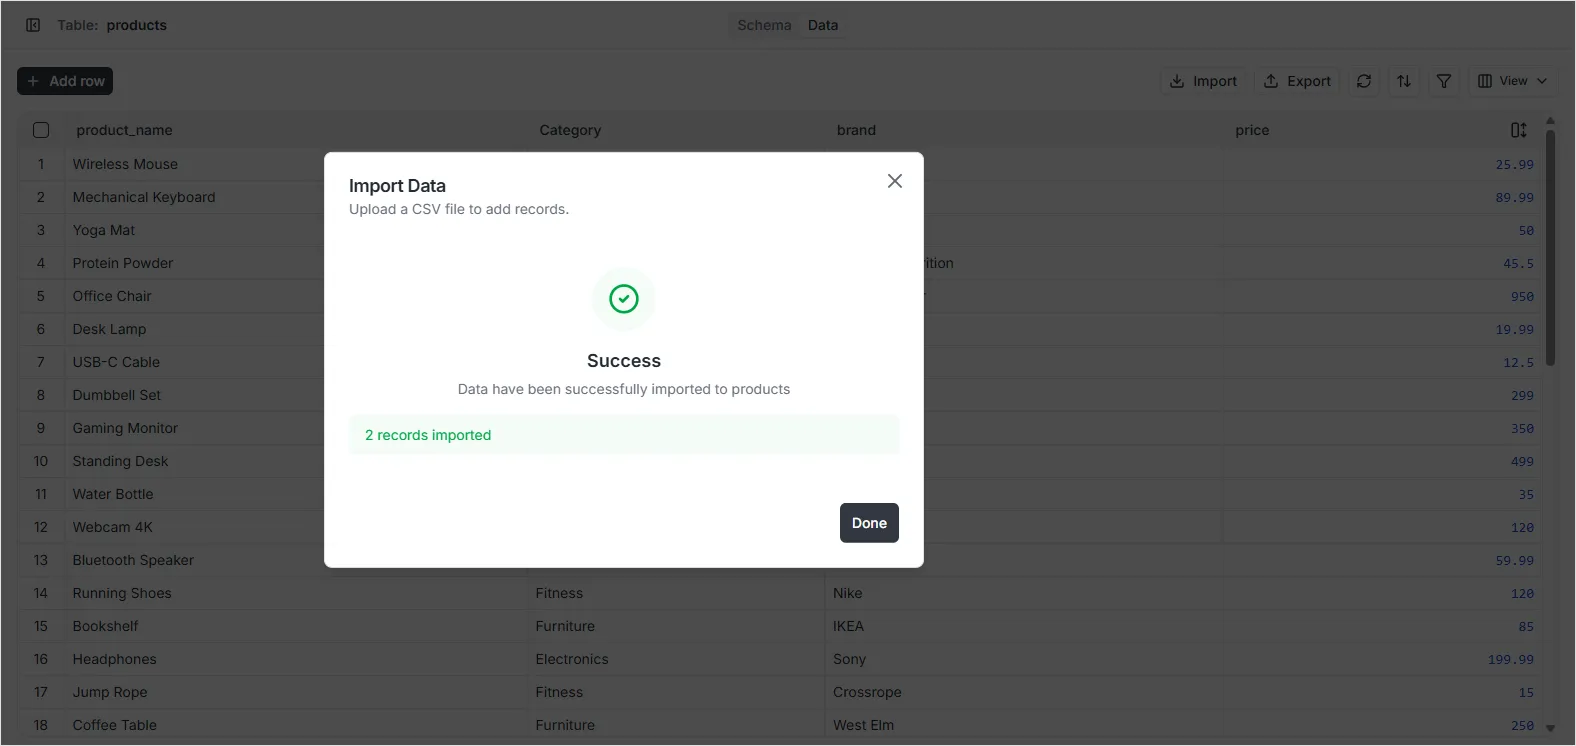
4. Finalize Import
Section titled “4. Finalize Import”Review the mapping and click Import Data. Once the process is complete, a success message will display the number of records correctly imported into your table.